Installation info? (we have it wall-to-wall)

Looking to install your new shower panels all by yourself? You’ve come to the right place. Wetwall’s patented tongue-and-groove system literally snaps together to go right over your existing tile, without grout or sophisticated tools.
Watch and learn
View this short video to see how easy it is to install your new, waterproof panel system.

Wow, Wetwall installs in 4 easy steps?
Installation Preparation & Requirements
Begin your project by inspecting your panels carefully for damage and verifying they are the correct size.
01 Gather Required Tools & Materials
Wetwall can be installed with standard woodworking tools. Download our installation guide for a complete list of tools and materials.
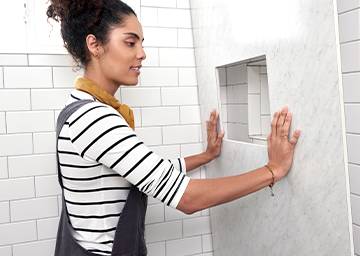
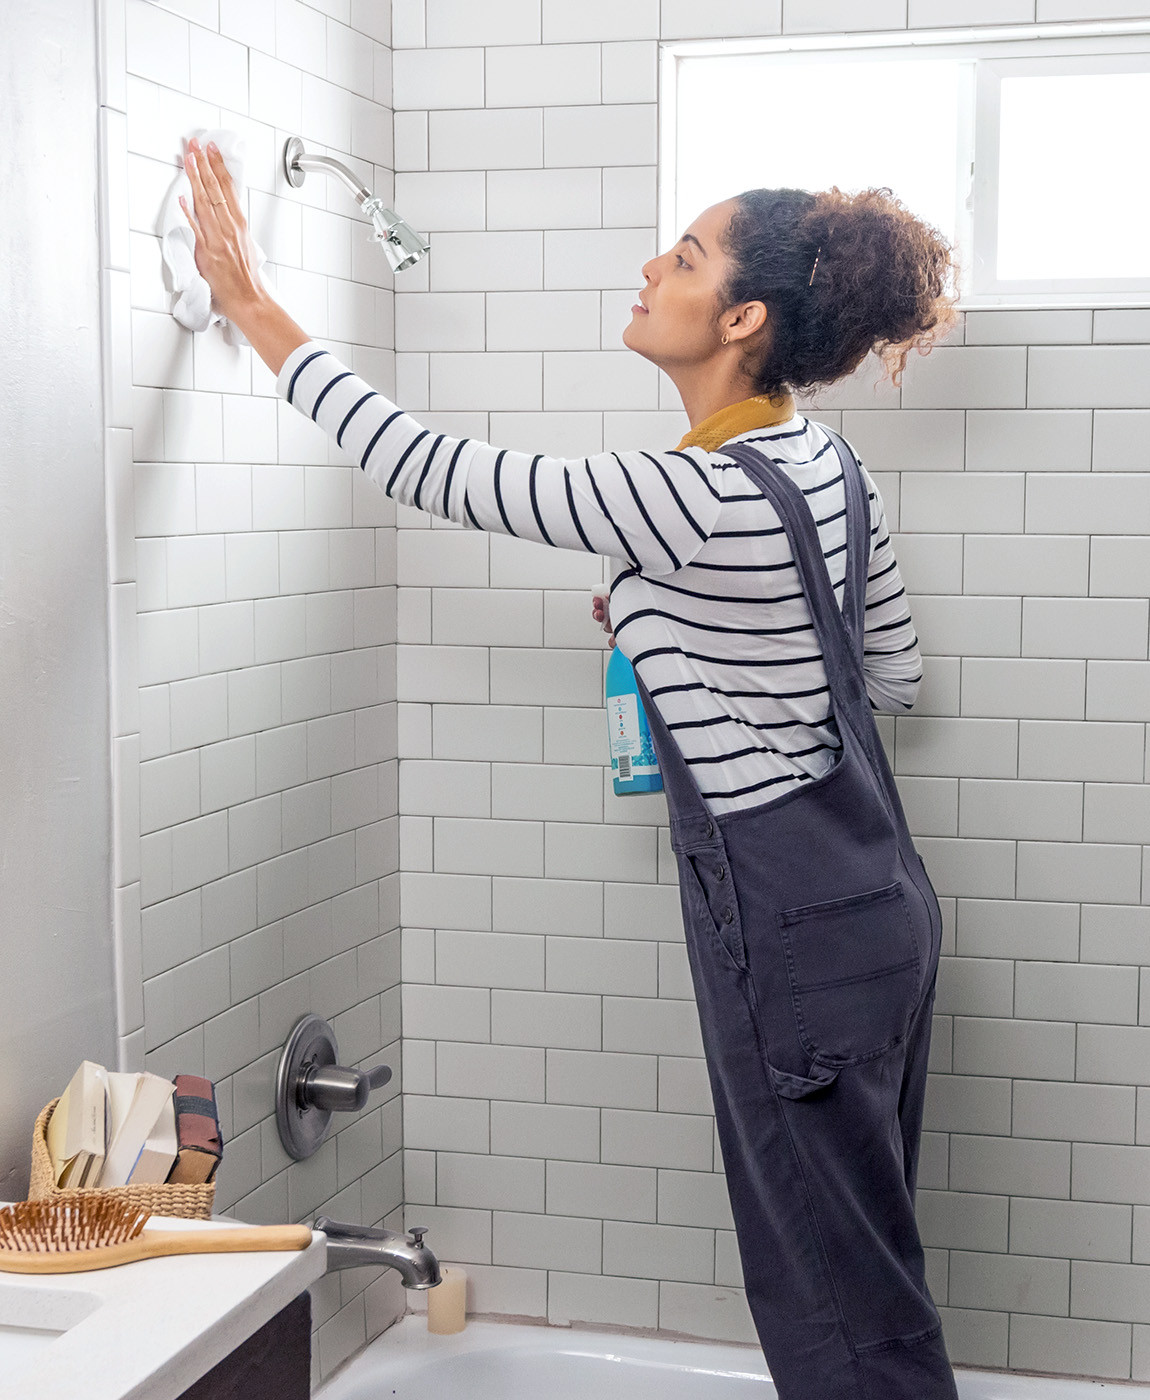
02 Prepare Existing Wall Surfaces
Wipe surfaces with a damp cloth so they are free of all contaminants and let dry. If installing over old tile, remove any loose tiles and rough up glossy tiles with a belt sander.
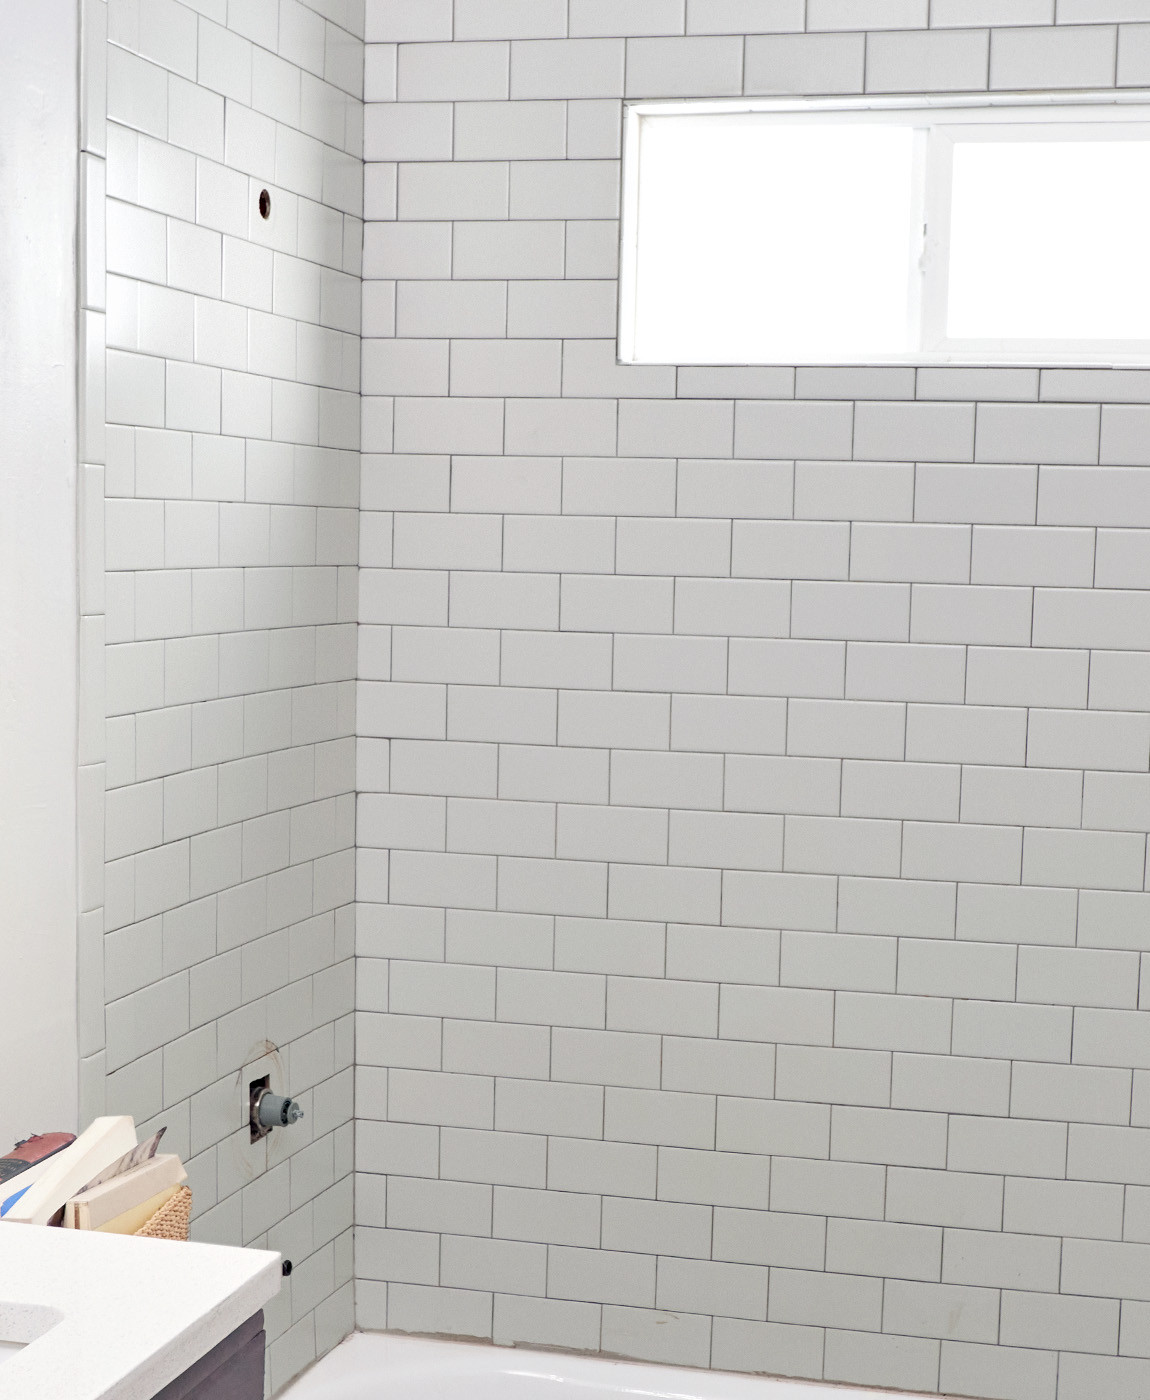
03 Remove Rough Plumbing & Fitting
Turn off hot and cold water supplies. Remove faucet handles, escutcheons, filler spouts and any other fixtures.

Installation Preparation & Requirements
Our patented tongue-and-groove panels let you estimate a rough "dry" fit for each panel on the wall. Remember to measure twice and cut once before you trim, place and add adhesive.
Dry Fitting
Our patented tongue-and-groove panels let you estimate a rough "dry" fit for each panel on the wall. Remember to measure twice and cut once before you trim, place and add adhesive.
01 Dry Fit Internal/Corner Wall Panel(s)
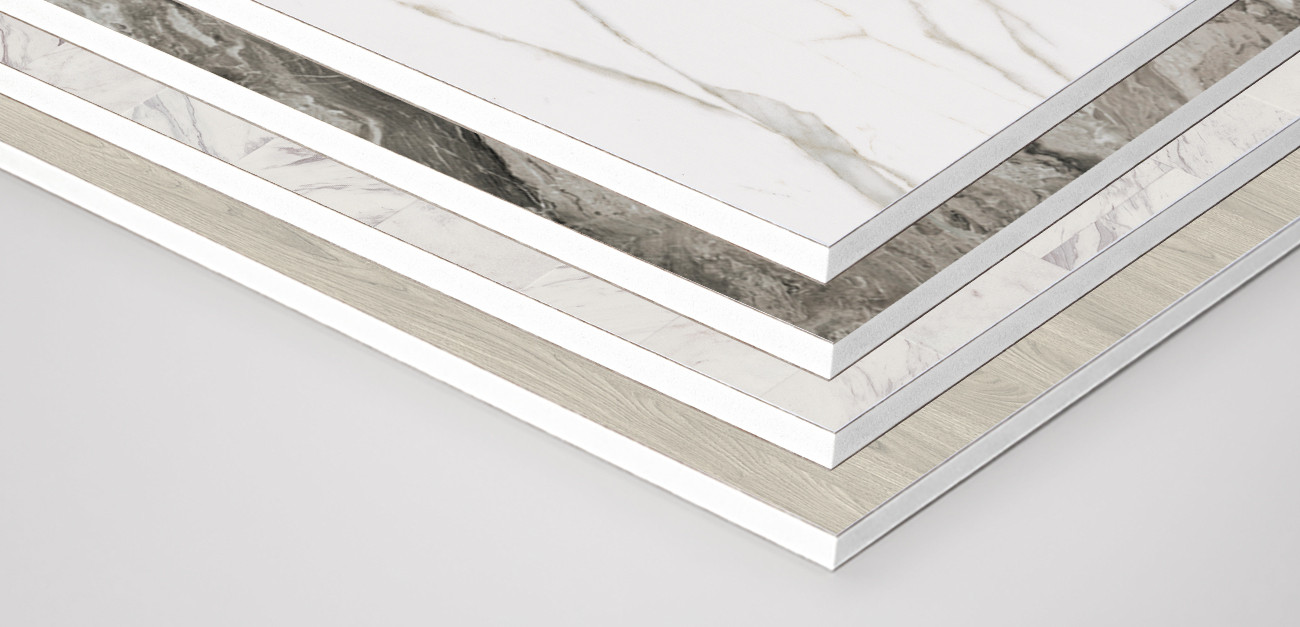
Start from internal corners first working outwards. Notice, one side of the panel has a postformed edge (Elite) or square edge (Mermaid, Alloy and Tile) that can be installed on the outside edge of the shower to give a finished look with or without wall trim. Fitting into corners requires trimming a tongue and groove edge or using a square edge into the corner.
02 Dry Fit Edge Panel(s)
Notice, one side of the panel has a postformed edge or square edge that can be installed on the outside edge of the shower to give a finished look with or without wall trim. For larger longer wall runs, adjoining panels can be used using the tongue and groove system or an h-joint trim for adjoining square edge panels such as Alloy.
03 Working with Patterns
With the eception of the Tile Collection, Our decors (Alloy, Elite, Mermaid) are not designed to align across joints. Where possible, some cutting/scribing can be done to ensure alignment. See Installation Guides for full details.
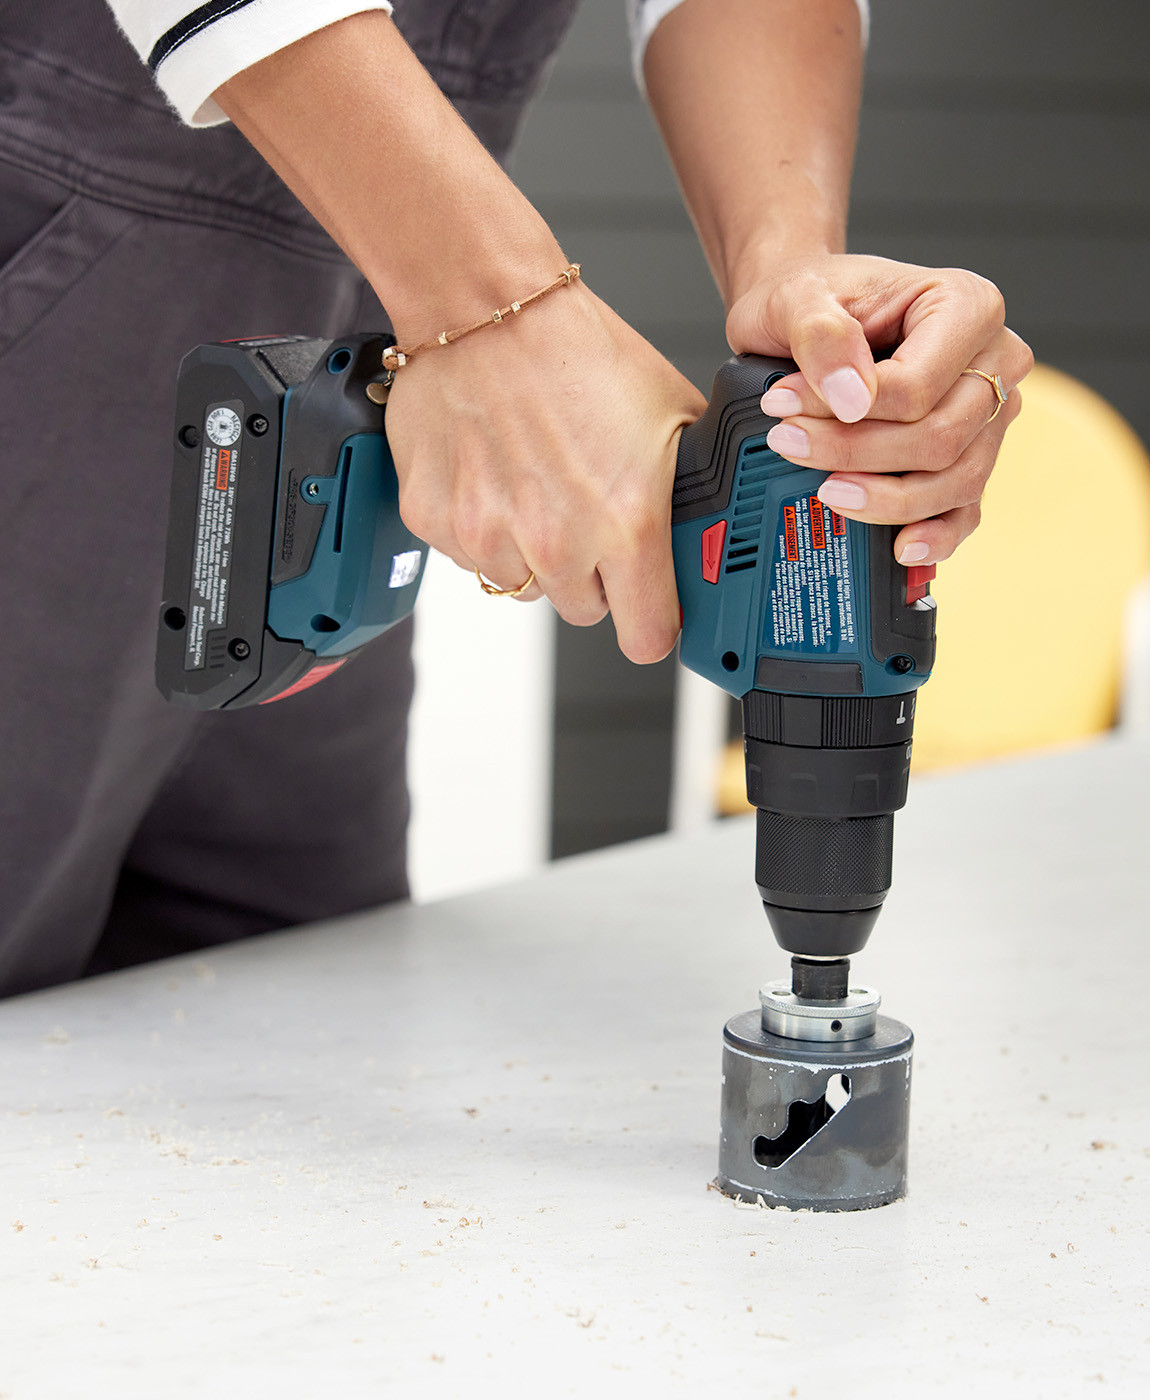
04 Mark & Drill Plumbing Locations
Mark–then drill–where shower valves or heads come through the side panel using a hole saw large enough for the opening but small enough to be covered by the trim plates.
Dry Fitting The Tongue-And-Groove Panel System
Our patented tongue-and-groove panels let you estimate a rough "dry" fit for each panel on the wall. Remember to measure twice and cut once before you trim, place and add adhesive.
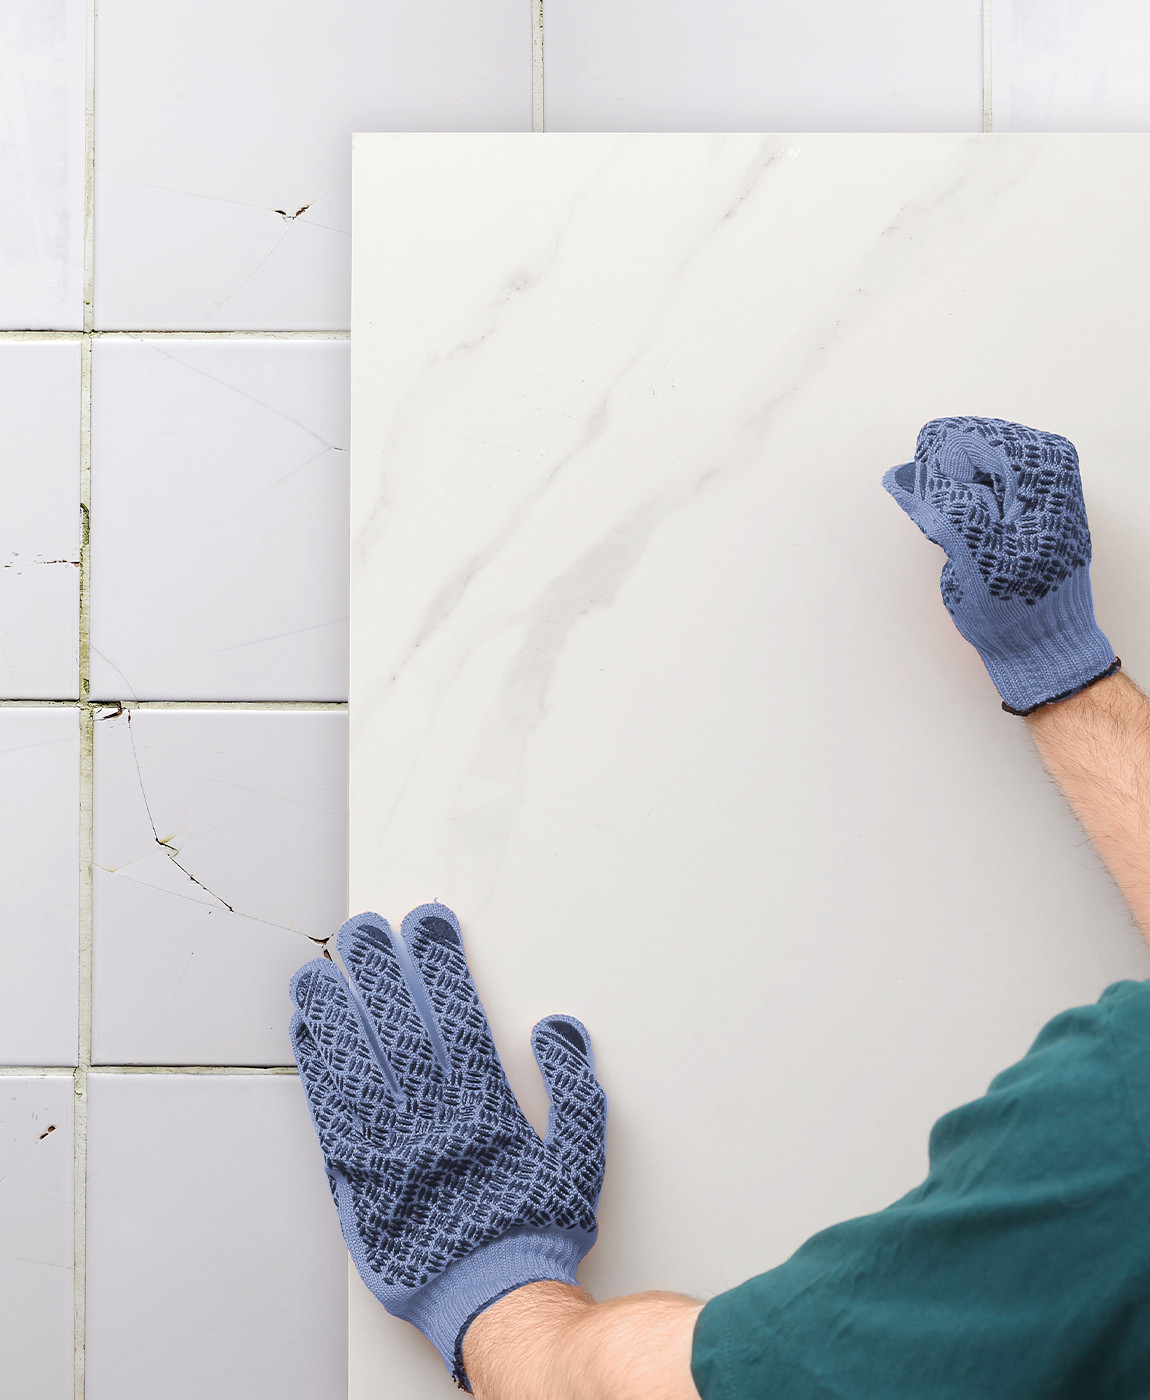
Panel Adhesive Application
Our high-quality adhesive allows you to quickly (and permanently) install our panels over any existing subwall, including gypsum, fiberboard, cement, plaster, and even tile.
01 Apply Wall Panel Adhesive
Working with one panel at a time, apply one strip of panel adhesive vertically down the two sides of each panel and one row of adhesive horizontally across the top and bottom. This is a thick adhesive, so try an electric caulking gun for easier application.
02 Install Internal/Corner Wall Panel(s)
Using suction cups, place the first internal panel onto the wall using the previously marked seam and joint locations for alignment assistance. Press firmly over the entire surface to ensure firm contact of adhesive. Ensure the postformed edge, or square edge is on the outside (If only one panel is required each side)
03 Install Edge Panel(s)
Using suction cups, place the first edge panel onto the wall using the previously marked seam and joint locations for alignment assistance. Press firmly over the entire surface to ensure firm contact of adhesive. For longer wall runs or larger surface areas, If additional edge panels are needed, place the second panel and leave a small gap to allow the tongue-and-groove to snap together, or use an h-joint trim to adjoin square edge panels.
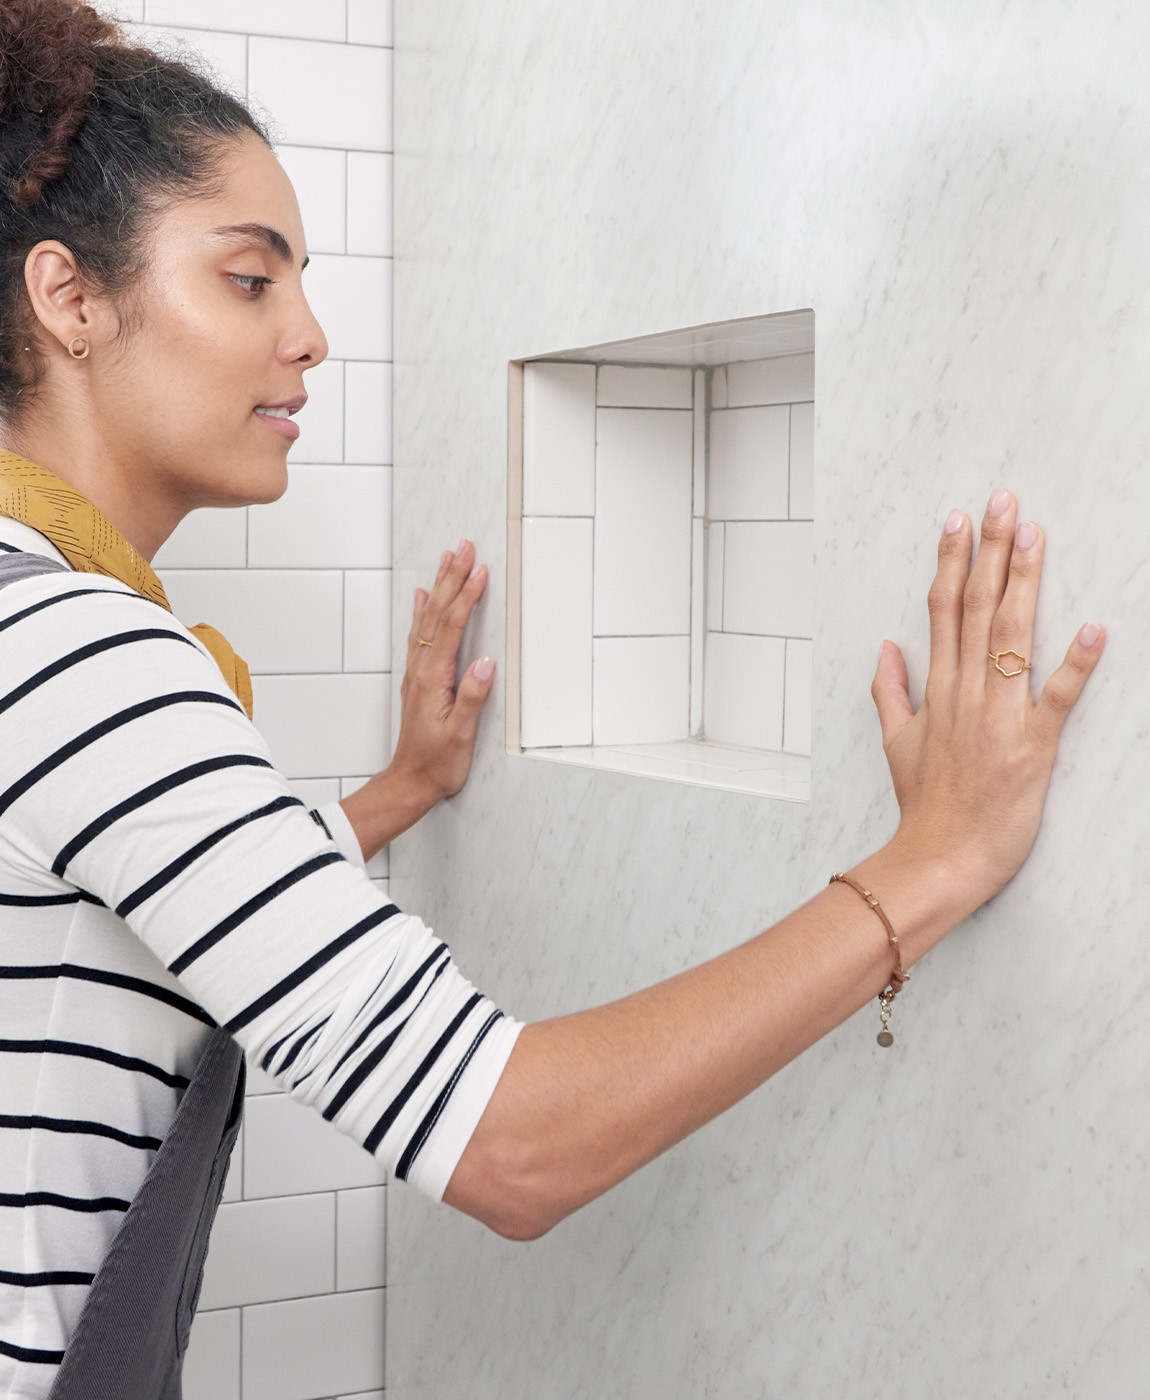
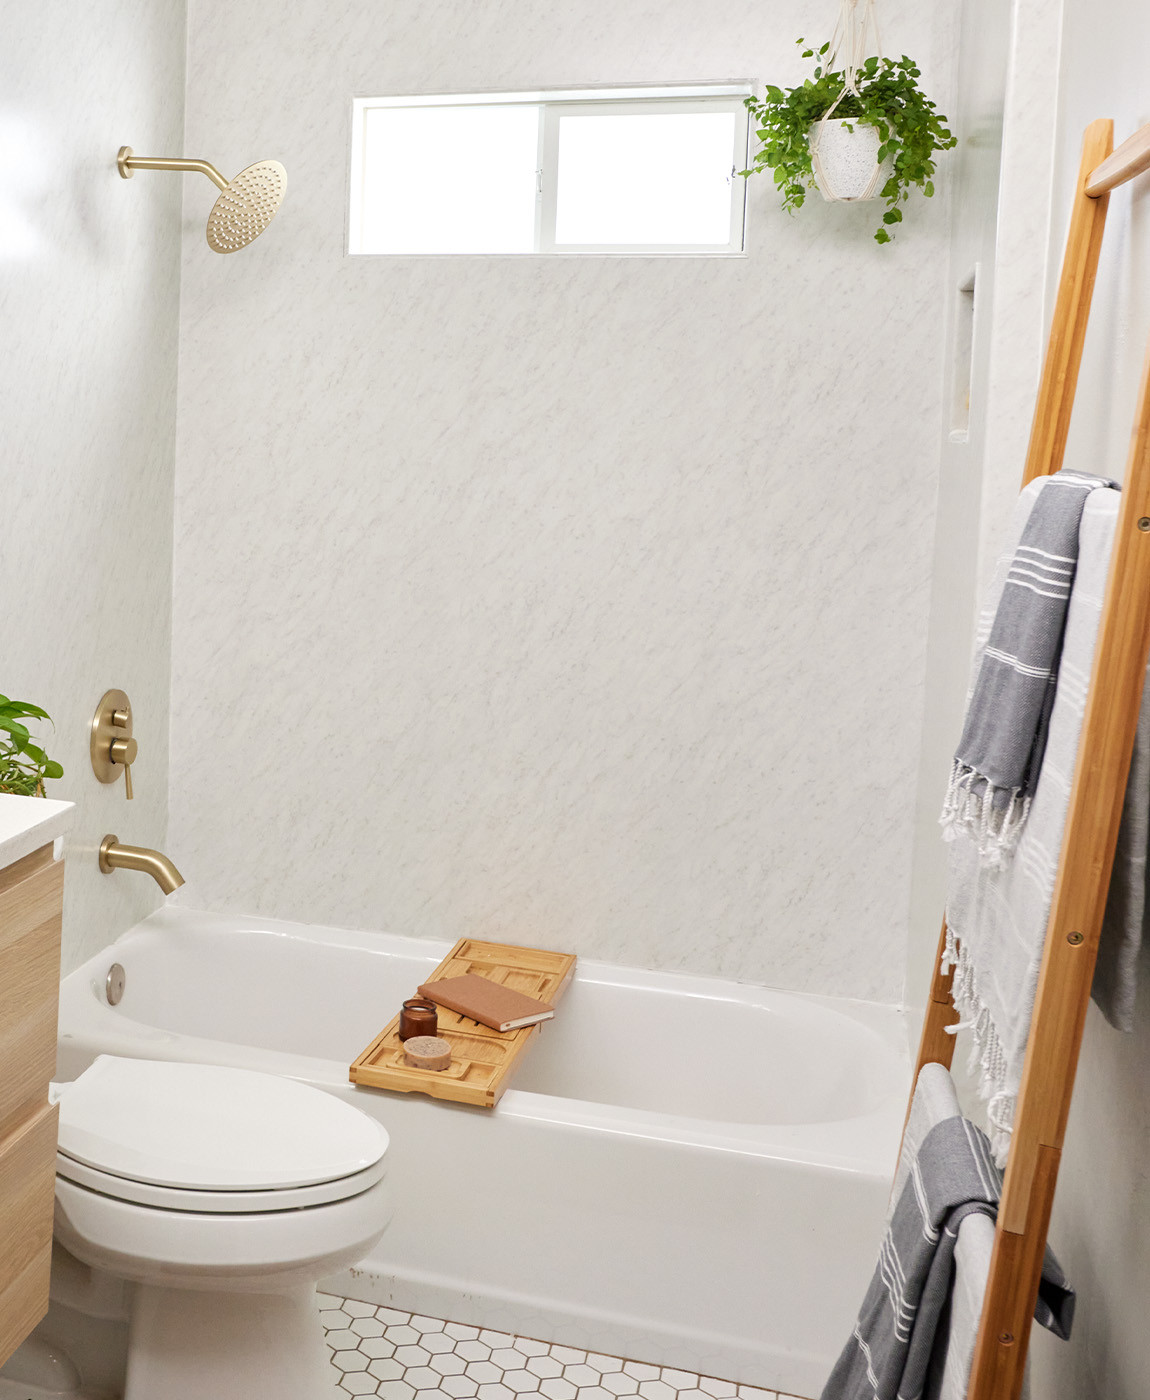
04 Finishing And Trim (if needed)
Our Elite designs can be trimmed and fitted using the postformed edge to finish around windows, niches, and exposed tile. With all other ranges trims will be required. When using our shower kits, consider purchasing additional trims from your local retailer.

Panel Adhesive Application
Our high-quality adhesive allows you to quickly (and permanently) install our panels over any existing subwall, including gypsum, fiberboard, cement, plaster, and even tile.
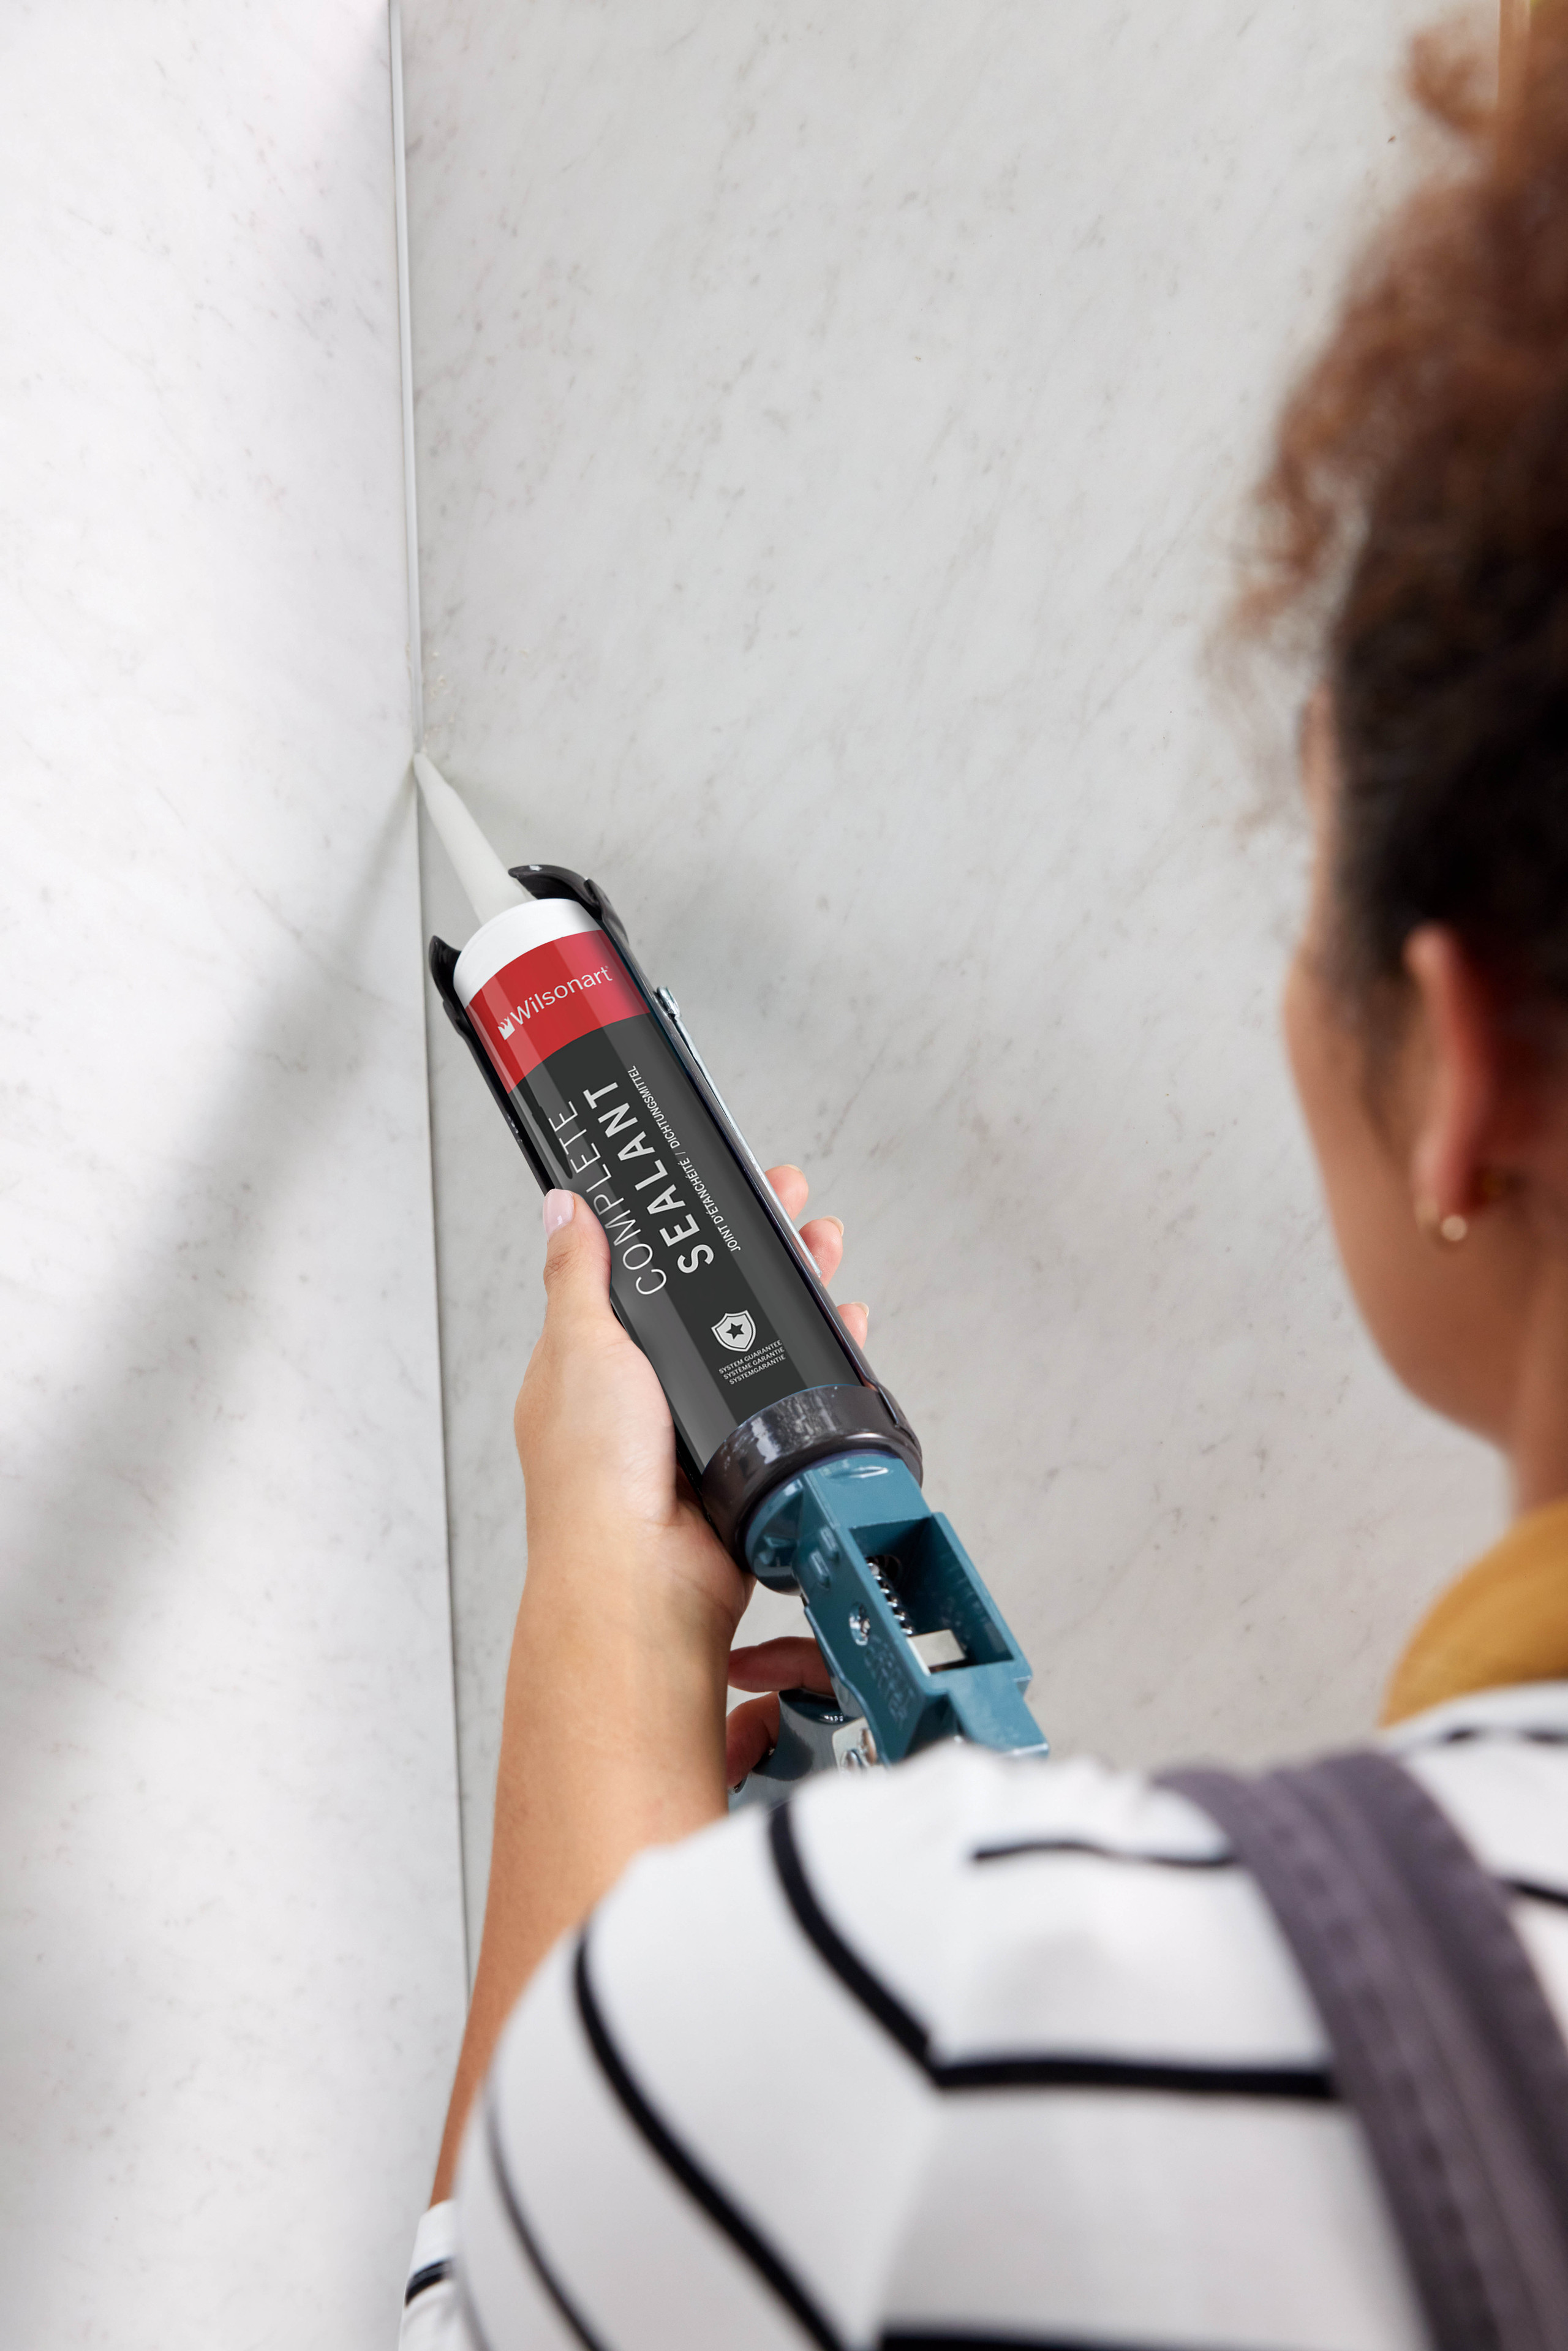
Colour Matched Sealant Application
Once your panels are up, it’s time to seal them with our reliable and long-lasting (and antifungal) sealant.
01 Apply Colour Matched Sealant
Once all panels are securely in place and set, apply the sealant to all corners, seams between panels and gaps between bottom panels. Wipe any excess adhesive from the panel with methylated spirit.
02 Allow Sealant To Cure
Allow panels to cure for 24 hours before installing any shower accessories.
Colour Matched Sealant Application
Once your panels are up, it’s time to seal them with our reliable and long-lasting (and antifungal) sealant.
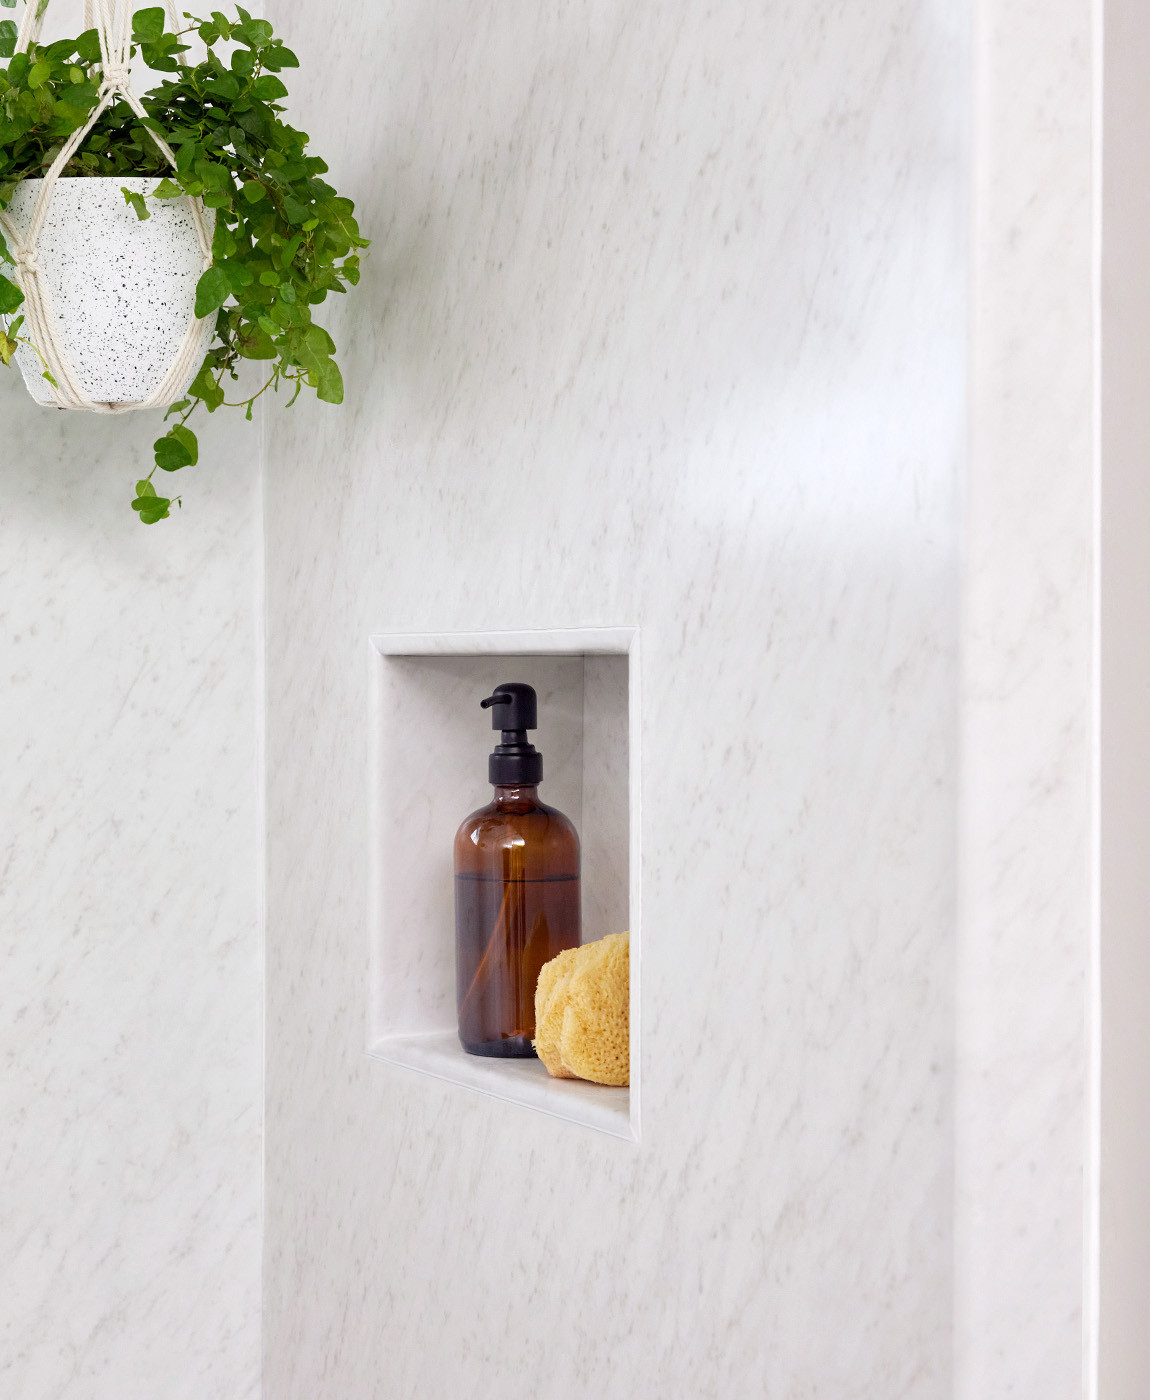
Installing Niches & Corner Shelving
Want to complete the look? Wetwall panels–with their bullnose edging–can be easily cut down to create niches, shelves and trim around windows. Watch our detailed tutorial for the latest installation tips and tricks.

Validate your login
Sign In
Create New Account